Master Slides
Master Slides
In addition to careful planning of the content, you need to plan the appearance of the presentation. For example:
- What color combinations (background and text) will look good and also be easy for your audience to read?
- Do you want particular text and a picture to appear on all the slides? For example a company name and logo.
You can change the appearance of slides as you develop the presentation, but planning ahead will save you time in the long run.
Slide masters
In Impress, to change the appearance and layout of a presentation you modify or create Slide Masters .In a previous lesson you learned how to change the appearance of a presentation by changing the background color or just apply one of the available master slides. This is a quick way to style your presentation without spending time modifying a master slide. You can also use a master slide from an external source such as LibreOffice Templates directory.
A slide master is a slide that is used as the starting point for other slides. It is similar to a page style in Writer: it controls the basic formatting of all slides based on it. A slide presentation can have more than one slide master. Therefore to change the appearance of a presentation you must change or edit the Slide Master.
Note: LibreOffice uses three terms for one concept: slide master, master slide, and master page. All refer to a slide which is used to create other slides.
A slide master has a defined set of characteristics, including
- the background color, graphic, or gradient
- objects (such as logos, decorative lines, and other graphics) in the background
- headers and footers
- placement and size of text frames
- and the formatting of text
Modify Master Slides
When you understand the structure of a master slide you can start modifying them to match your design needs. You can change background colors, font styling for the text, add decorative graphics and footers.
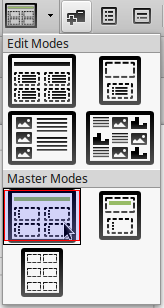
To start editing a Master Slides click on the Display Mode ![]() button on the toolbar and select the Slide Master Mode.
button on the toolbar and select the Slide Master Mode.
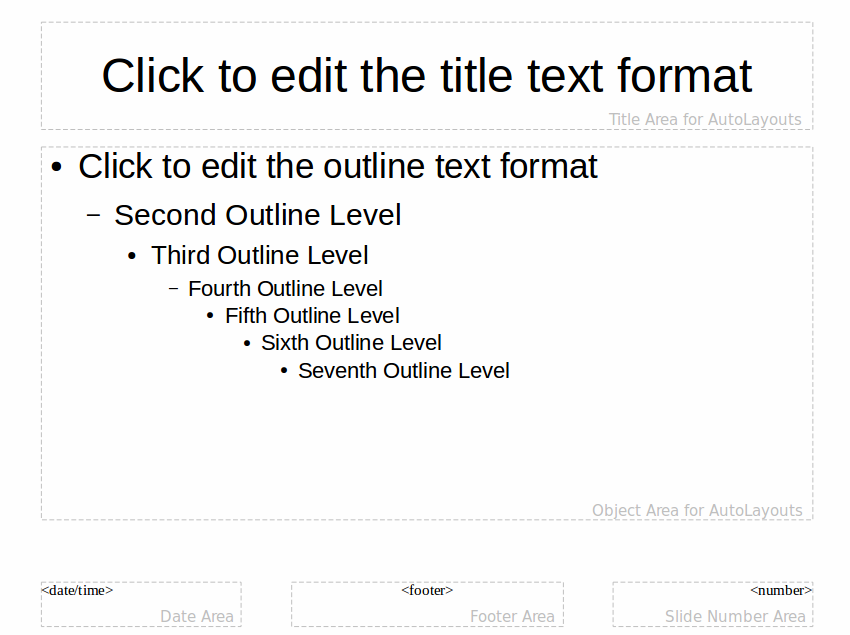
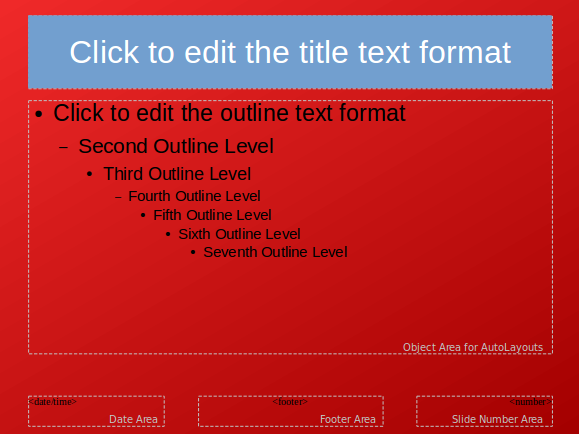
Modifying default text areas
When a slide master is opened for editing, it contains five areas, as shown the image below.
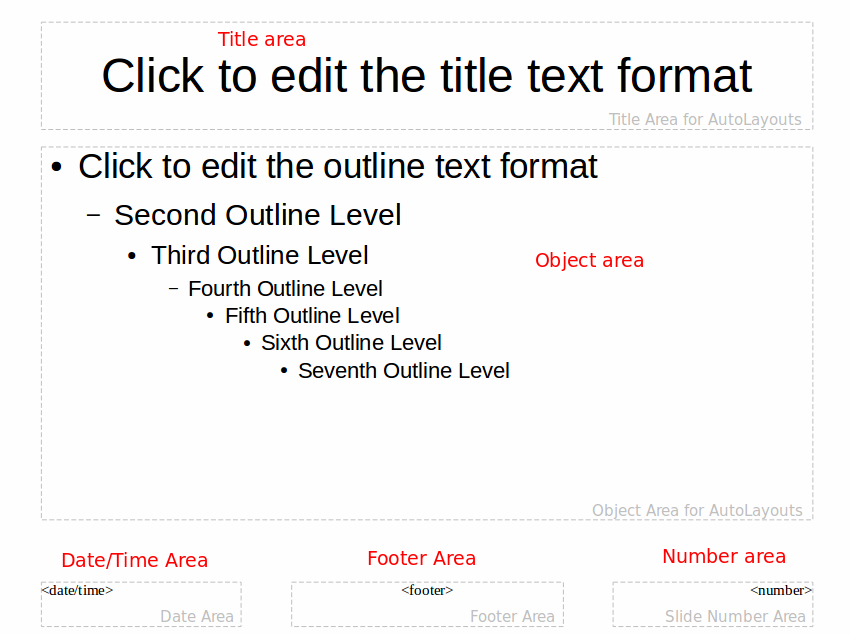
Now you can select any of these objects and start making changes. Any changes made to one slide when in Master View mode will appear on all slides using this slide master.
Modify the title Text Area
Select the Text Area Autolayout box

Using the Properties section in sidebar start formating the text box and text properties. In this example we change the font color and set a gradient area color.

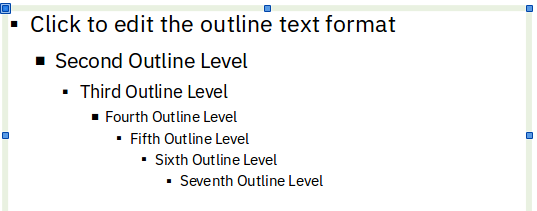
Modify the Object Area
In a similar way you can modify the Object Area Autolayout text box. Here for example you can change the bullets style using the menu command Format > Bullets and Numbering.
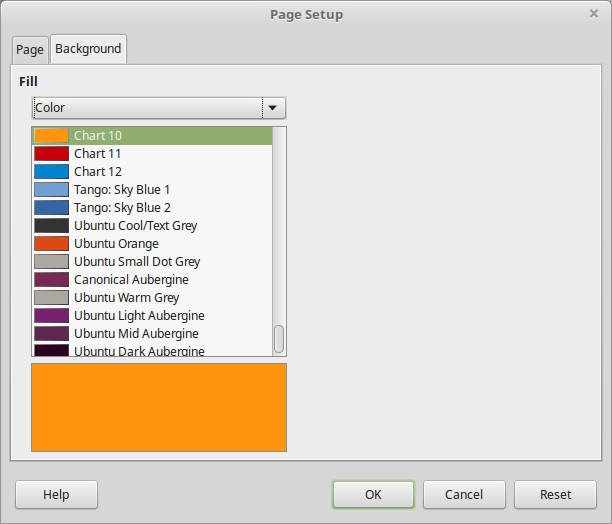
Selecting and applying backgrounds
You can style a master slide by setting a background color, gradient or bitmap image. Right click to bring up the context menu and select the Format Slide command.

Now choose the Fill type and color.
Adding image objects
If you add any graphic to a master slide this will appear on every slide of your presentation. You can add for example a decorative graphic, a logo or a watermark to your presentation. In the following image a logo has been added to the bottom of the presentation. This image now will appear on every slide using this master slide.

Headers and footers
The master slide contains placeholders for header and footer text. There you can type a date, page numbering or any other information you want to appear.
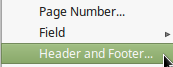
To set headers and footers choose Insert > Header and Footer from the main menu.
In the Header an Footer dialog window set the required values and click Appy to All. To apply to the current slide only use the Apply command.
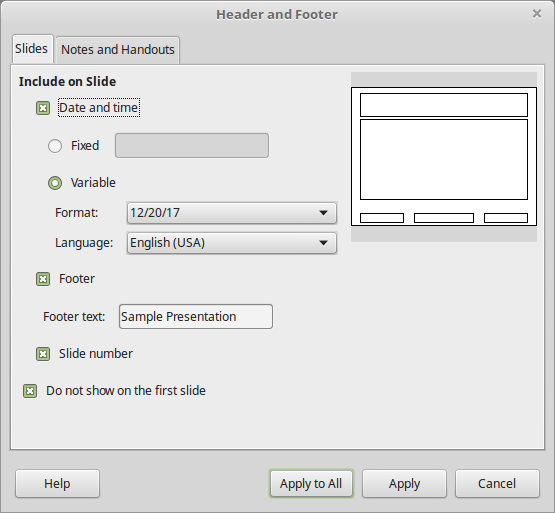
Date and Time. Set a fixed value or a variable date. A variable date always displays the current data.
Footer. In Footer text type general information about the presentation. You can type for example the presentation title, author or company name.
Slide number. Displays the current slide number.
Do not show on first slide. Choose this option if you font want header and footer text to appear on the first slide.
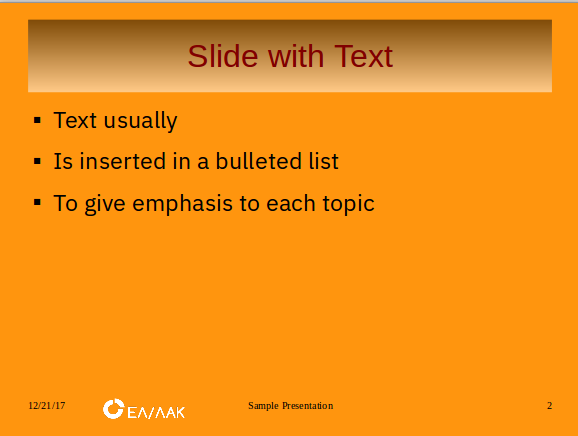
The image below shows the final result after setting the date, footer and number fields for all slides.
Creating a new Master Slide
A presentation may require different designs in some of the slides. In this case Impress allow us to create two or more master slides and apply each one to the corresponding slides.
To create a new master slide
Enable Slide Master mode ![]()
Click on the New Master ![]() button on the toolbar.
button on the toolbar.
A new master slide is being created and you can start modifying it the same way you modify the default master slide. In the example below we changed the slide and Title area background color.
Applying a slide master
To apply the custom slide master to one or more slides:
1. Go to Normal View ![]()
2. In Slides Pane select the slide or slides which the new master will be applied.
3. Open the Master Pages tab in Sidebar all slide masters used in this presentation.
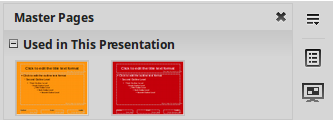
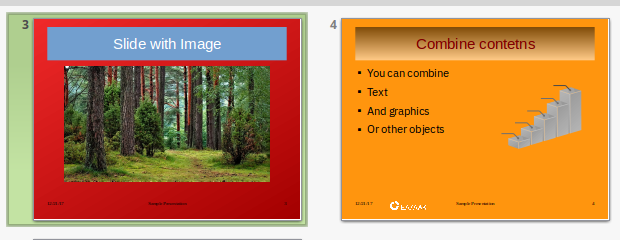
4. Apply the new master slide to the selected slide. In the following example the new master slide has been applied to slide 3 while all other slides keep the original master.
Delete a Master Slide
To delete a master slide:
- First remove it from any slides by applying another master.
- Then in Master Slide mode select it from the Slides Pane.
- Press the delete slide master button
 from the toolbar.