Photo album
Photo album
Impress can create a photo album from a set of images, usually with one photo per slide. For example you can create an album with your latest vacation pictures into a presentation file.
Create a photo album
Before you get started, it's a good idea to gather all the photos in one folder. To import images and automatically create slides in your presentation:
1. Open an existing or blank presentation.
2. Go to the slide that precedes the photo album.
3. Choose Insert > Media > Photo Album.

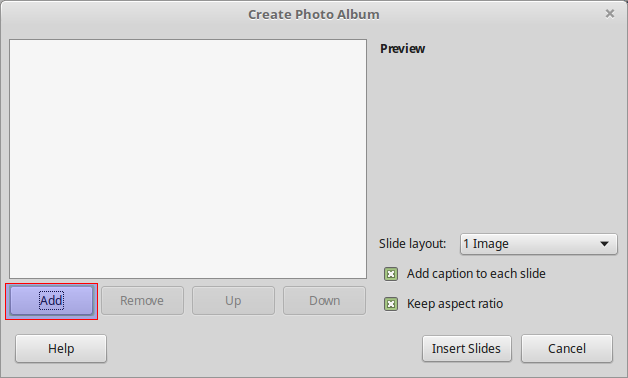
4. In the Create Photo Album dialog, click Add.
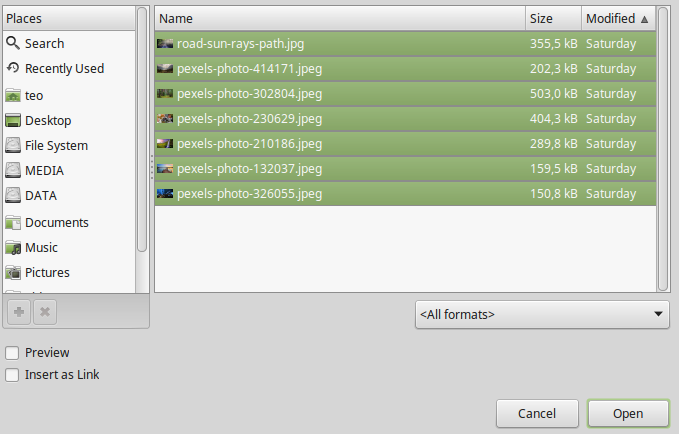
5. When the file browser opens, locate the images you want to import. If several images are in the same folder, hold down the SHIFT button to select all images or the CTRL button to make a partial selections while clicking. A standard file browser opens. When you finish selecting the images, click the Open button to add the files to the photo album.
6. The Create Photo Album window appears again with the list of images you just selected. Create the required sequence by removing pictures or moving them up or down the list. Optionally, you can set the number of images per slide in the Slide layout list box. Select the Add caption to each slide option, if necessary, to insert a text box for the caption. When you are ready, click the Insert slides button.

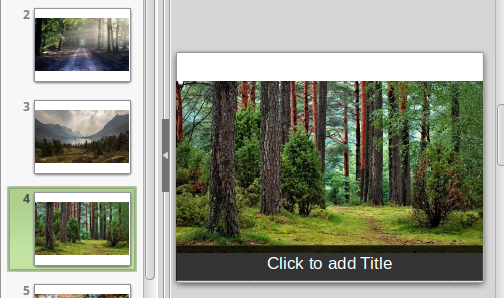
7. Impress will create a presentation with as many pages as determined by the Slide layout number of slides per page. If you selected Add caption to each slide, there will be a placeholder for the image caption (title) on each slide.
Fine tuning the Photo Album
To make your photo album more appealing
- Add a Title page
- Apply a background color to all slides
- Add automatic transitions to all slides.
- Add a background music. To achieve this, simply add a music file as a transition sound effect in the first slide.