Workspace Views
Workspace Views
Each of the Workspace views is designed to ease the completion of certain tasks; it is therefore useful to familiarize yourself with them to quickly accomplish those tasks. Note that each Workspace view displays a different set of toolbars when selected. These toolbar sets can be customized by going to View > Toolbars.
The Workspace has five tabs: Normal, Outline, Notes, Slide Sorter, and Handout. These five tabs are called View buttons. To change a Workspace view:
- First activate the tabs. Click the Toggle Tab Bar Visibility
 button on the Standard toolbar
 - Click on any tab to change the view.
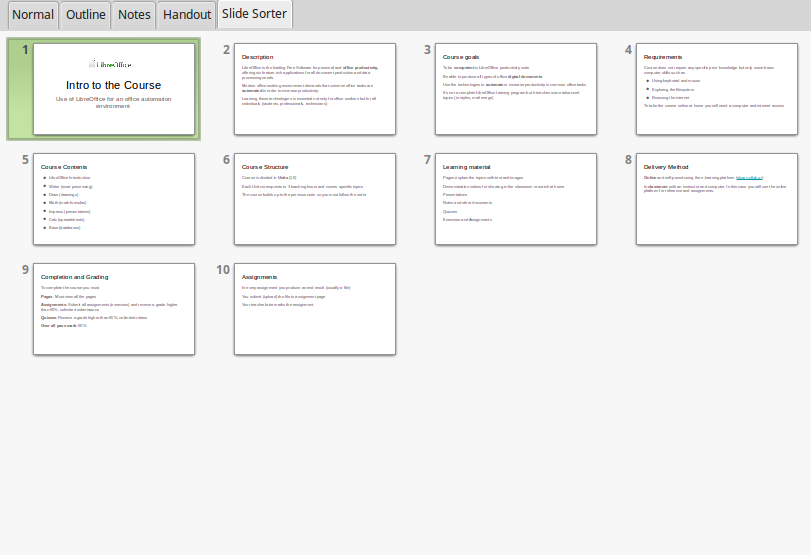
![]()
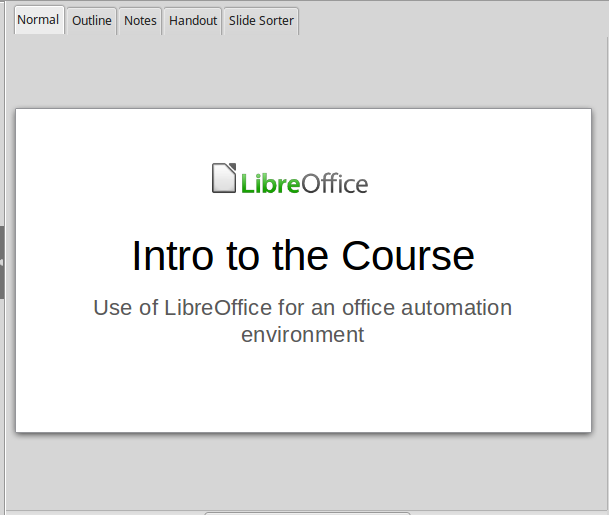
Normal view
This the main view for creating individual slides. Use this view to format and design slides and to add text, graphics, and animation effects. To place a slide in the slide design area of the Normal view click the slide thumbnail in the Slides pane.
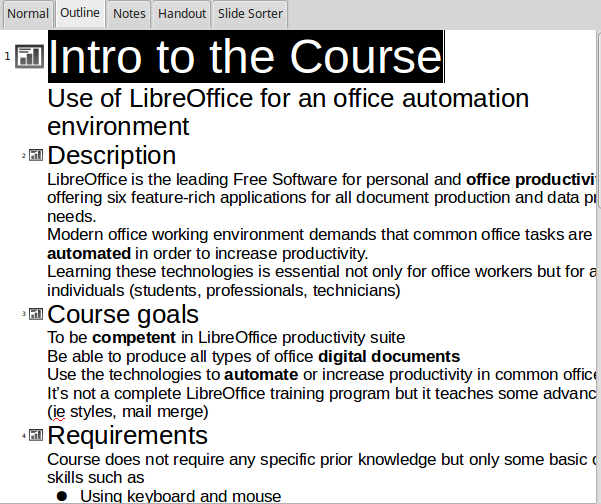
Outline view
The Outline View contains all of the slides of the presentation in their numbered sequence. It shows topic titles, bulleted lists, and numbered lists for each slide in outline format. Only the text contained in the default text boxes in each slide is shown. If you have added text boxes or graphic objects to the slides, then these objects are not displayed. Slide names are not included.
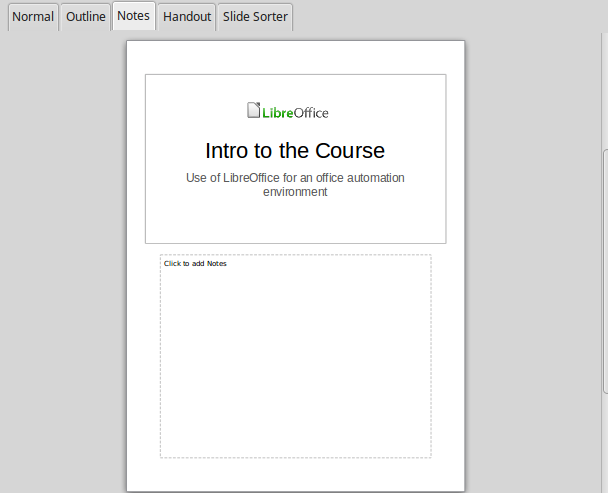
Notes view
Use the Notes view to add notes to a slide. These notes are not seen when the presentation is shown to an audience but they can be printed with the slides.
Slide Sorter view
The Slide Sorter view contains all of the slide thumbnails. Use this view to quickly sort group of slides or view multiple slides in one window.
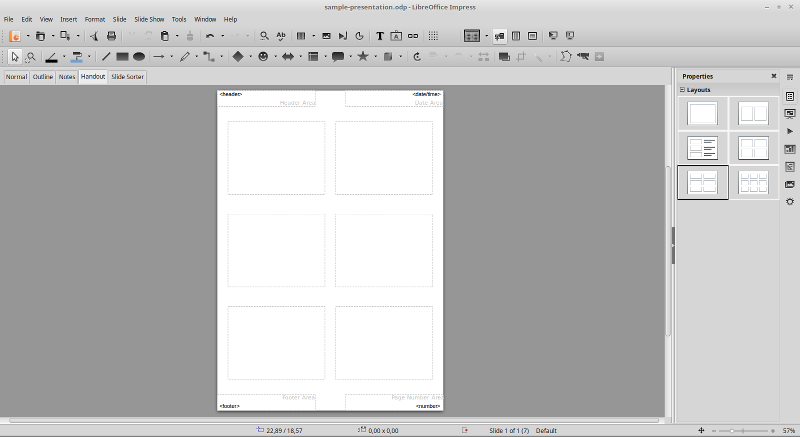
Handout view
The Handout view is for setting up the layout of your slide for a printed handout. Click the Handout tab in the workspace and the Layouts section opens on the Sidebar. Then you can choose the number of slides per page for the printed handouts.