Page size, margins and orientation
Page size, margins and orientation
Page formatting in word processors refers to page printing layout properties (size, margins and orientation) and page elements such as headers, footers, borders and background.
Normally page formatting affects all pages inside a document. Later in this course you will learn how to format individual pages using Page Styles.
Page properties
To quickly edit basic page properties such as paper size, margins and orientation use the Sidebar's Page section in properties tab.
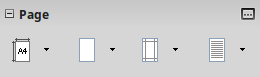
For more options choose the menu item Format > Page to open the Page formating window.
Paper size
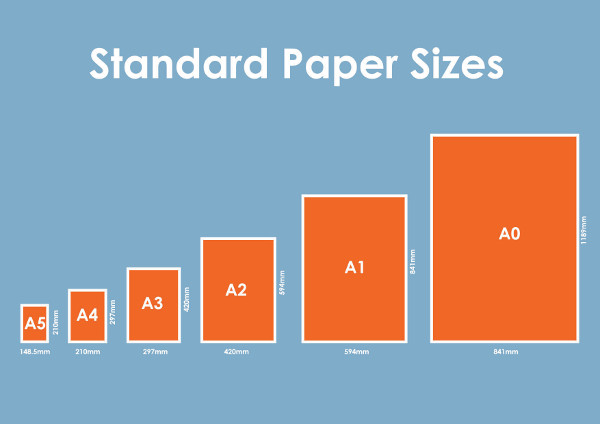
Every document in a text editing application must have defined a paper size. Paper sizes ares standardized according to the A series ISO sizes. The most common paper size used around the world is A4, which is 210mm x 297mm. A4 is the default paper size in Writer and the size that all printers support. Some printers support the larger A3 size.
Setting the paper size
To set the paper size click the ![]() button on the Page panel of the Properties deck in sidebar.
button on the Page panel of the Properties deck in sidebar.
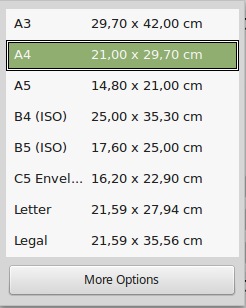
Normally you should use the A4 size 99% of the times.
Orientation
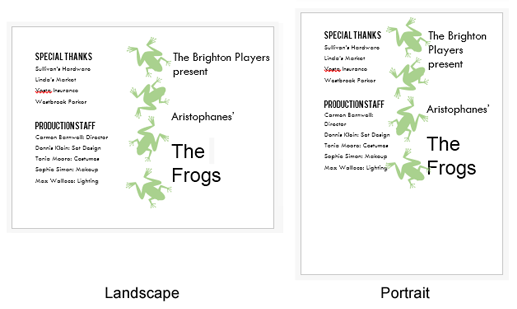
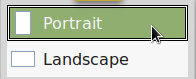
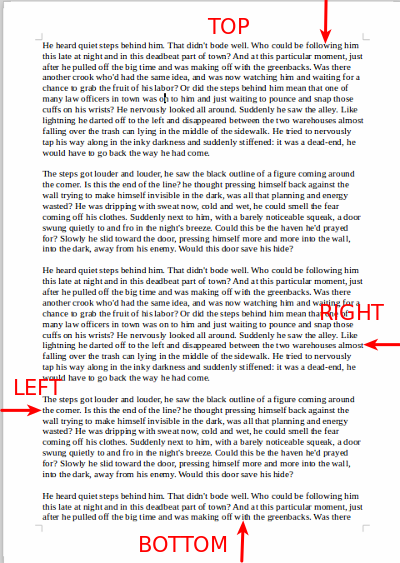
Writer offers two page orientation options: landscape and portrait. Landscape means the page is oriented horizontally, while portrait means the page is oriented vertically. See how orientation can affect the appearance of a page in the image below.
Setting the orientation
To change the orientation click on the ![]() button on the Page panel of the Properties deck in sidebar.
button on the Page panel of the Properties deck in sidebar.
Page Margins
Page margins are the white space around the top, bottom, left, and right of your document. Margins serve two main purposes:
All printers require a space between the printing area and the edge of the paper because printing on the edges is hard if not impossible for most printers
The use of white space around the content of a page makes our document more easy to read and visually appealing.
Setting page margins
Using the sidebar
In general you should avoid changing margins for most of your documents. However some types of documents like posters, brochures etc may require to change the margins. To set the margins of your document click the ![]() button on the Page panel of the Properties deck in sidebar.
button on the Page panel of the Properties deck in sidebar.
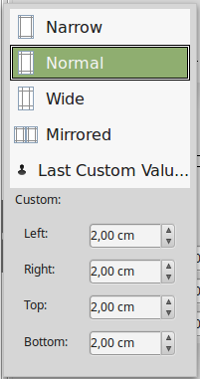
Choose Narrow, Normal, Wide or set custom values.
Using the rulers
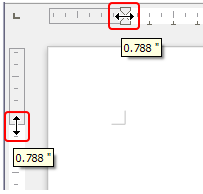
The shaded sections of the rulers are the margins. Put the mouse cursor over the line between the gray and white sections. The pointer turns into a double-headed arrow.
Hold down the left mouse button and drag the mouse to move the margin.
You need to be careful to move the margin marker, not the arrows arrows on the ruler, these are used for indenting paragraphs.