Forms
Forms
While you can always enter data directly into database tables, you might find it easier and more user friendly to use forms. Forms ensure you're entering the right data in the right location and format. This can help keep your database accurate and consistent.
With forms, database designers can control exactly how users are able to interact with the database. They can even set restrictions on individual form components to ensure all of the needed data is entered and that it's all entered in a valid format. This is useful because keeping data consistent and organized is essential for an accurate and powerful database.
Creating forms
In LibreOffice Base you can create a Form using:
- Create a Form in Design View. Using this method you create a form from scratch, having complete control of the form design. This option is suitable for more advanced users.
- Use Wizard to Create Form. The Wizard guides you through a step by step process to create the form. Unlike tables and queries, creating a form from scratch is difficult for beginners. Therefore this is the recommended method to create a form.
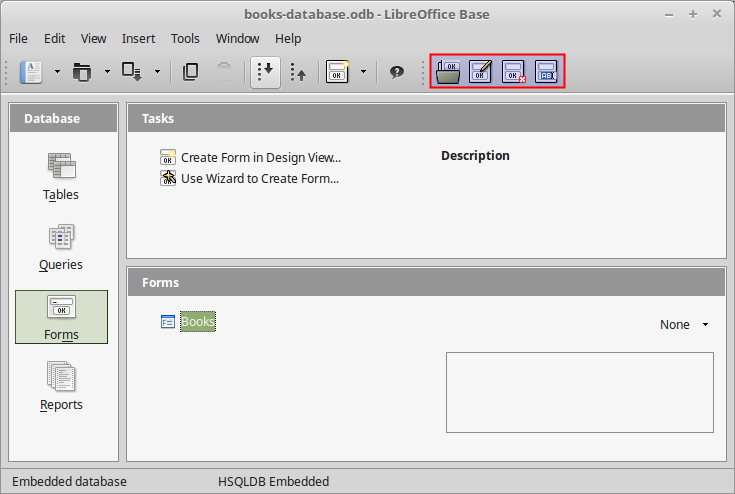
Select Use Wizard to Create Form form the Tasks window to start creating a form.

Step 1
The Form Wizard window appears. In this step you select the fields that the form must contain. Select all the fields from table Books except the ID. The ID field is filled automatically every time we create a new record.

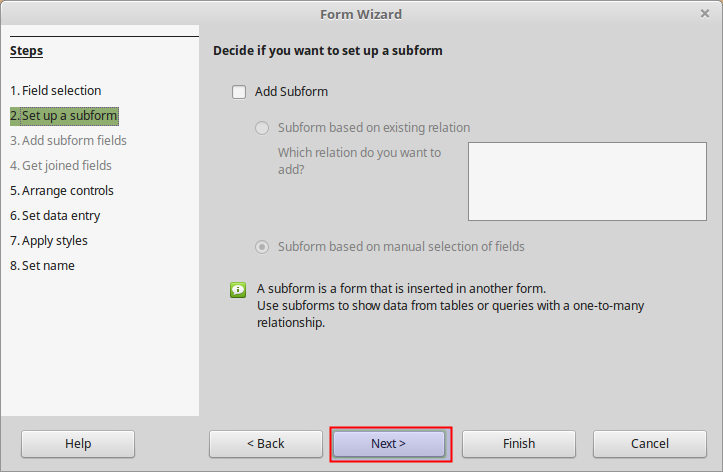
Step 2
In relational databases a table can connect to another table and similarly a form can contain a subform. Skip this step now because our database is flat and does not have any relations.
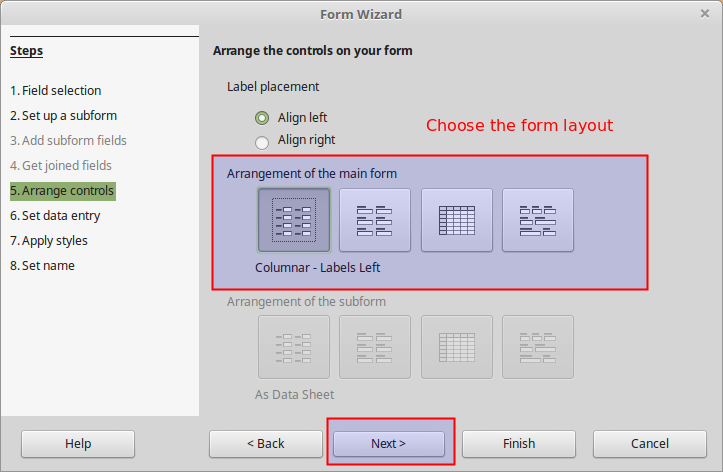
Step 3
In this step we choose the form layout or arrangement. Click on all available options to preview the result. For this form choose the Columnar - Labels Left layout.
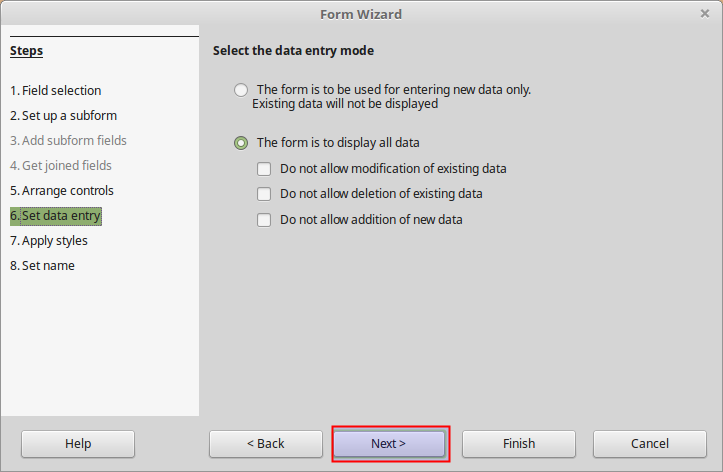
Step 4
In this step we specify the data entry mode. You can create for example a form that the user can only add records but not modify existing ones. In our example we will leave the default options so that the form user has full rights.
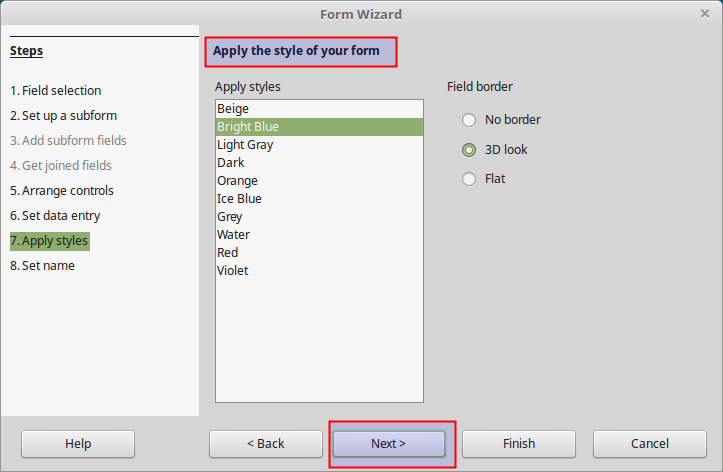
Step 5
In this step you can quickly style the form using one of the predefined styles. Choose a style (Bright Blue for example) and click Next.
Step 6
In this step we set the name of the form and how we want to proceed after creating the form. Name the form Books or BooksForm and Choose Work with the form.

Using the Form
Navigating
When we open the Form it displays each record according to the chosen layout. Using the navigation toolbar on the bottom we can navigate to each record of the table. The toolbar on the bottom displays also the current record.
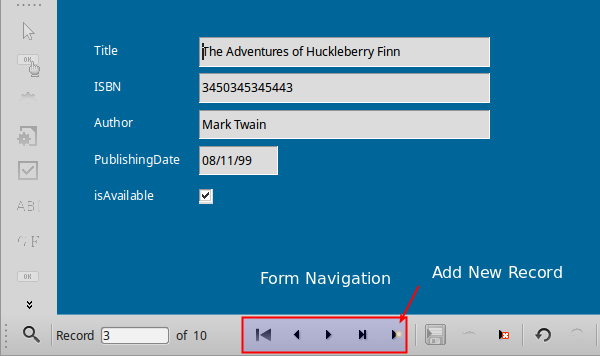
Creating and modifying a record
To add a record click on the Add New Record button ![]() on the navigation toolbar and fill in the form fields. To modify or update an existing record simply edit one or more field values. In both cases you must save your changes by pressing the Save Record button
on the navigation toolbar and fill in the form fields. To modify or update an existing record simply edit one or more field values. In both cases you must save your changes by pressing the Save Record button ![]() .
.

Managing a form
To manage a form click on the Forms object type in Database pane and select the form from the Forms pane. Use the Form toolbar to Open, Edit, Delete or Rename a form.