Working with Text
Working with Text
When you create a slide and apply the layout the next step is to add and format content in it. Text is the most common type of content that you can insert in a presentation.
Pay attention to the layout you select for a slide. Text and graphic elements can be readjusted at any time during the creation of a presentation, but changing the layout of a slide that already contains some contents can have a dramatic effect.
Inserting text
Any text used in slides is contained in Text Boxes. There are two ways of adding text boxes to slides:
a) AutoLayout text boxes
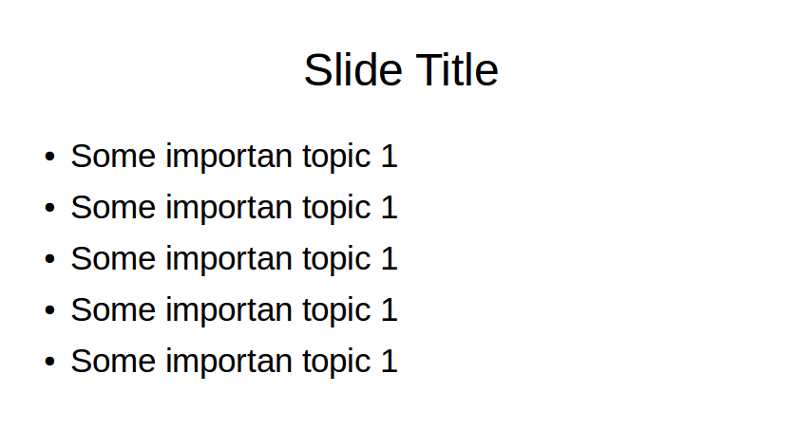
When using one the content predefined layouts the slide contains Text Boxes that prompts you type text. These text boxes are called AutoLayout Text Boxes.

To enter text into an AutoLayout text box:
- Make sure Normal view is selected.
- Click in the text box that reads Click to add text.
- Type or paste your text into the AutoLayout text box.
b) Text boxes
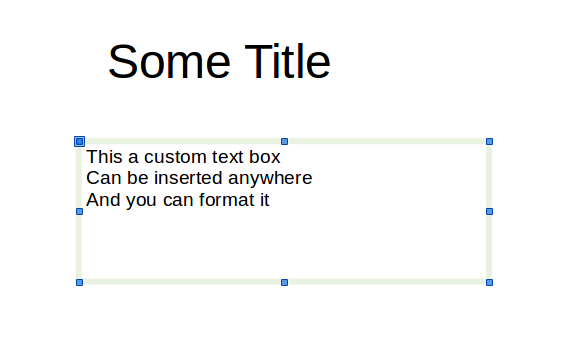
Create a text box using the Text Box ![]() button on the Standard toolbar.
button on the Standard toolbar.
Move a text box
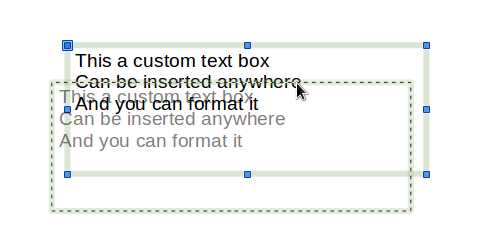
To move a Text Box click on the border of a Text Box to select and when the hand icon appears drag the box to the new location.
Resize a Text Box
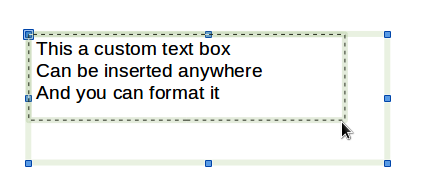
To Resize a Text Box click on the border of a Text Box to select and drag one of the blue resize handlers. To resize keeping the aspect ratio hold down the Shift key while resizing.
Rotate a Text Box
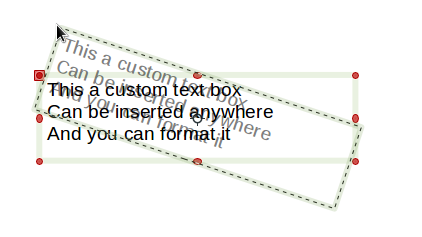
To Rotate a Text Box click on the border of a Text Box two times to select and drag one of the red rotate handlers.
Pasting Text
Text may be inserted into a text box by copying it from another document and pasting it into Impress. However, the pasted text will probably not match the formatting of the surrounding text or that of the other slides in the presentation. This may be what you want on some occasions; however, in most cases you may want to make sure that the presentation style is consistent. Therefore you should normally use the Paste Unformatted Command.
Formating Text
Styles in Impress
When you enter text, either in an AutoLayout text box or in a normal text box, it is formatted with a set of predefined attributes known as a style. The style used depends on the outline level of the point where the text was entered into a text box.
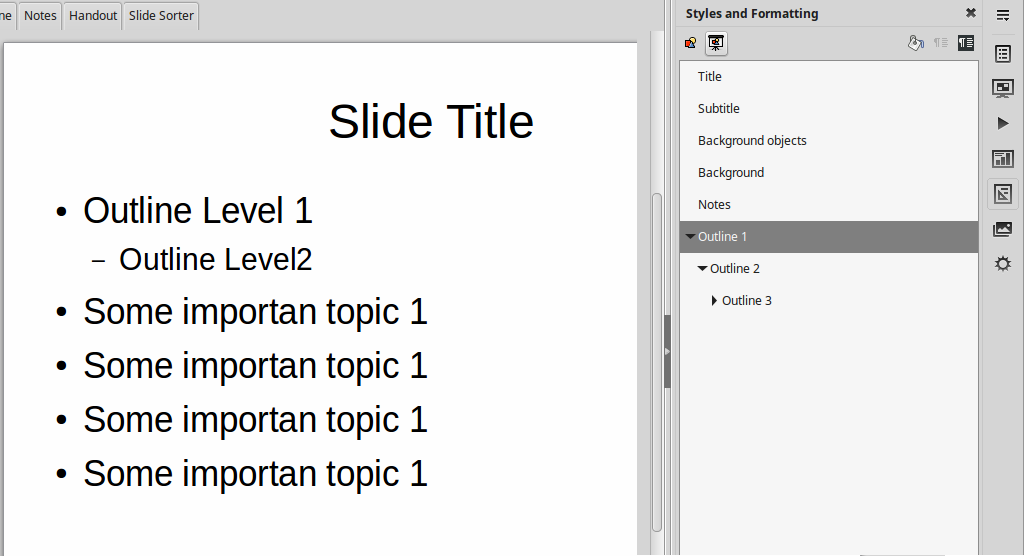
In situations where you need to perform the same modifications to many different parts of the presentation, the use of styles is recommended. In this way your presentation will have a consistent look and will not distract your audience. Therefore it's important to avoid direct formatting and use the styles of the presentation. In a next lesson you will learn how to modify the style of a presentation using Master Slides.
However, unlike LibreOffice Writer, where it is recommended to use styles whenever possible, in Impress direct formatting has to be used more often. This is because presentation styles are fixed in Impress and you can't add your own
Direct formatting
To format all the text in a Text Box, select the Text Box by clicking once around the border. of the box. Now all the formatting changes apply to all the text in the Text Box.

To format specific parts of a Text Box, click inside and then select text from the box.

Formatting text may require to change properties like:
- Character attributes (for example font color)
- Paragraph attributes (for example alignment)
- List attributes (for example type of bullet)
The quickest way to format text in Impress is by using the Properties tab in Sidebar.

Select the formating group and change the attribute the same way you have learned with LibreOffice Writer. The Area, Shadow, Line and Position formatting groups apply to the selected Text Box.