Assignment
Create a photo album
Create a photo album
Completion requirements
View
Make a submission
Receive a grade
Now it's time to create your own photo album like the one described the Photo album page.
Instructions
- Make sure you have read the instructions in the Create a Photo album page and watched the video.
- Make a new folder for the exercise. You must use this folder for all the files (presentation, image, sound)
- Collect the images. You will need at least 8 images with enough resolution to fit the slides. You can use you own images or download from sites like fickr or pexels.
- Download an audio file. You can use onlinevideoconverter.com to convert and download a youtube video to an audio mp3 file. Alternatively you can use an audio file stored on your computer.
- Create a new presentation and name it my-photo-album.odp. Set up your slide page to 4:3 or 16:9 size. This depends on the ratio of the images you are using.
- Create a title slide with the name of your photo album (for example My trip to Santorini)
- Insert the images using the Photo Album feature of Impress. Optionally select to add captions. In that case you must enter text in the captions.
- Apply the transitions to slides with automatic advance after 2 or 3 seconds.
- In the first slide add the sound file as a transition effecet to create background music for the slide show.
- Apply a background color to all slides
- Save the presentation file.
- Using your operating system's file archiver utility, compress or archive the presentation and audio file in one single file. This is required for two reasons:
- Custom transition sound files can only be linked and not embedded to the presentation
- It's easier to move and share a single file instead of a folder with multiple files.
- Upload your file to filedropper.com, or any other file sharing service. This is because the file size will probably be too large for the e-learning platform.
- Submit the share url or link. Make sure the sharing url is public and your instructor can download the file without any credentials.
Using Filedropper
Visit filedropper.com and click on the Upload File button
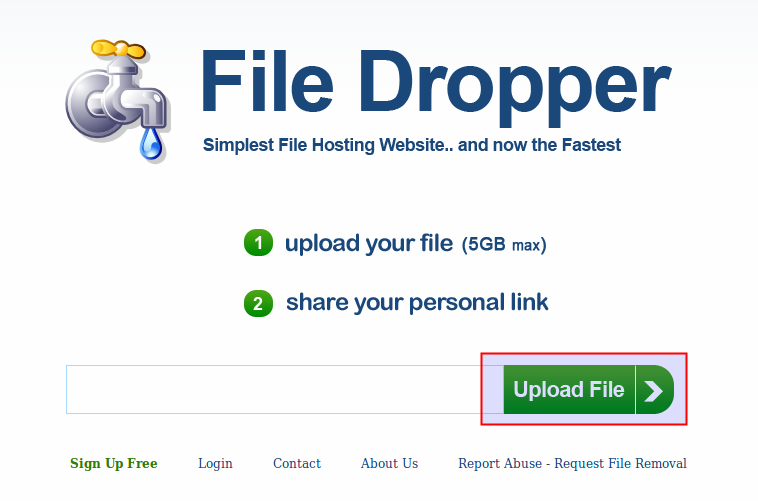
When the upload completes copy the link to share the file
